In this article we are going to see how can we perform Jmeter testing using maven, so that we can use this in CI/CD.
What is Jmeter?
Jmeter is a performance testing tool which can be integrated with CI/CD. To know details you may visit
What is Maven
Maven is Java Build automation tool.
Why Maven with Jmeter?
Usually we perform unit test with any Java code. Ideally an acceptance test should have some form of performance testing with it. We are going to use maven jmeter plugins to test a web application similar to a development project build.
This will allow us to “Shift Left” performance testing. And this will allow any CI/CD system (like jenkins) , execute the test and show reports. This technique can be use to run in Docker also.
Goals
- We will run test
- we will generate reports
- We will use maven command (from command line or IDE)
Steps
Here I am going to point step by step how to do this.
Create a Jmeter Test Script
We need to create a jmeter script that we are going to use to generate load. For the example , i am using
- Base URL = bdjobs.com
- Threads = 20
- RampUp = 10s
- Looping = Infinite (test will stop by time)
- Period = 2min (120s)
- Target Request Per Minuit is 30 (RPM)
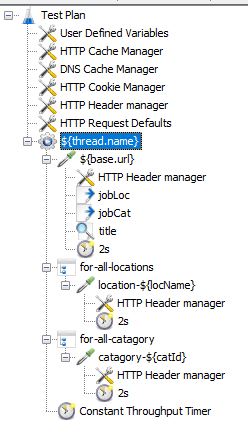
The test case
We will run only to navigate links present.
- Step 1 : Going to main url
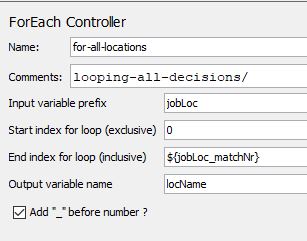
- step 2 : Going to all links of jobs based on locations
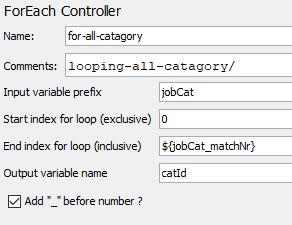
- step 3 : Going to all links of jobs based on criteria
For step 2 & step 3, I have used regular expression extractor which will help us to get all links dynamically . We will get all links as loop. I wont explain details here as this is only maven execution.(comment if you want to know how)
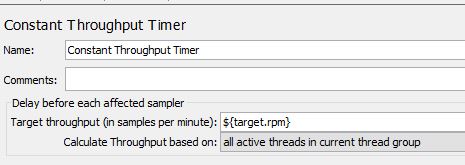
We will use Constant Throughput Timer to fill up our target of 30RPM
I am going to use 2s delay for each step of request. So, finally test look like this
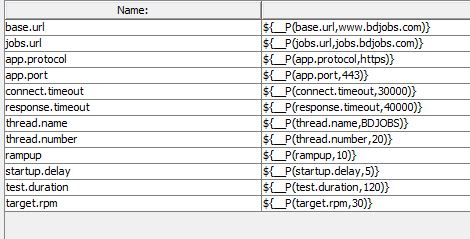
Keep All configuration as property
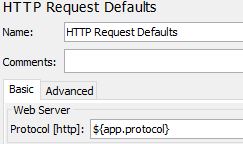
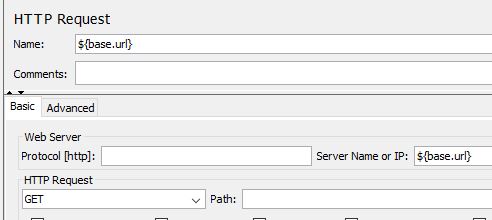
- To have dynamic behavior, I am keeping all variable as property in user define variables. These are jmeter properties, we can inject this way using maven.
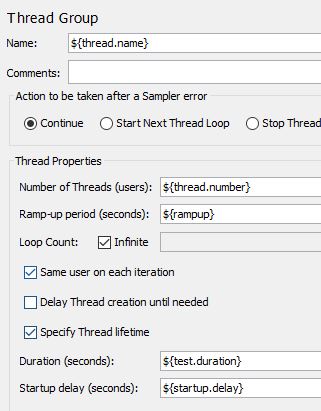
Thread Group configuration
- To get the target RPM i am using 20threads in infinite loop with 2min(120s) duration. This will stop test after 2min.
Note : We will see some socket exception for time limit, for this example, please ignore this.
Test Jmx
Create a maven Project
Now, lets’s open your favorite IDE (i am using intellij IDEA) & create a blank maven project . For this example, I am using
    <groupId>org.automation</groupId>
    <artifactId>jmeter-with-basic-report</artifactId>
    <version>1.0-SNAPSHOT</version>
Test configuration as maven properties
Add properties section in pom.xml
<properties>
	<BUILD_TAG>${project.version}</BUILD_TAG>
	<base.url>www.bdjobs.com</base.url>
	<jobs.url>jobs.bdjobs.com</jobs.url>
	<protocol>https</protocol>
	<port>443</port>
	<connect.timeout>30000</connect.timeout>
	<response.timeout>40000</response.timeout>
	<thread.name>BDJOBS</thread.name>
	<thread.number>20</thread.number>
	<rampup>10</rampup>
	<startup.delay>5</startup.delay>
	<test.duration>600</test.duration>
	<target.rpm>30</target.rpm>
	<jmeter.plugin.version>3.1.0</jmeter.plugin.version>
	<encoding>UTF-8</encoding>
	<project.build.sourceEncoding>${encoding}</project.build.sourceEncoding>
	<project.reporting.outputEncoding>${encoding}</project.reporting.outputEncoding>
	<project.resources.sourceEncoding>${encoding}</project.resources.sourceEncoding>
</properties>
Add jmeter maven plugins
- Create a build section
- Create Plugins section
- add maven plugin. I am using 3.1.0 version for this example
<plugin>
    <groupId>com.lazerycode.jmeter</groupId>
    <artifactId>jmeter-maven-plugin</artifactId>
    <version>${jmeter.plugin.version}</version>
<plugin>
- Get Jmeter Jar Configuration as plugin configuration
<plugin>
    <groupId>com.lazerycode.jmeter</groupId>
    <artifactId>jmeter-maven-plugin</artifactId>
    <version>${jmeter.plugin.version}</version>
    <executions>
        <execution>
			<id>configuration</id>
			<goals>
				<goal>configure</goal>
			</goals>
		</execution>
		<execution>
			<id>tests</id>
			<goals>
				<goal>jmeter</goal>
			</goals>
		</execution>
		<execution>
			<id>check-results</id>
			<goals>
				<goal>results</goal>
			</goals>
			</execution>
	</executions>
</plugin>
In here you can see there are three goals.
- configure : where jmeter is build with dependent JARs from maven repo
- jmeter : Where jmeter runs the tests
- results : where jmeter first look for result files and then process results to generate reports.
Configure Maven Plugins
This part we are going to configure maven plugins with our properties that we specified in maven properties. For this, add configuration section after executions
<configuration>
	<propertiesUser>
		<base.url>${base.url}</base.url>
		<jobs.url>${jobs.url}</jobs.url>
		<app.protocol>${protocol}</app.protocol>
		<app.port>${port}</app.port>
		<connect.timeout>${connect.timeout}</connect.timeout>
		<response.timeout>${response.timeout}</response.timeout>
		<thread.name>${thread.name}</thread.name>
		<thread.number>${thread.number}</thread.number>
		<rampup>${rampup}</rampup>
		<startup.delay>${startup.delay}</startup.delay>
		<test.duration>${test.duration}</test.duration>
		<target.rpm>${target.rpm}</target.rpm>
	</propertiesUser>
</configuration>
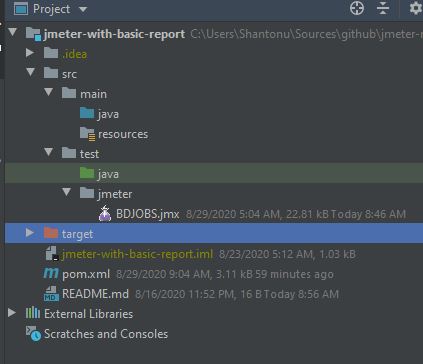
Specify test script(JMX)
By default Jmeter plugins finds \src\test\jmeter folder for test. It runs all JMX files in the folder. As we are running single JMX, i am not changing anything.
Adding jmeter properties
As this is default tests, i am not adding any property. Future post, I will show how to add user.properties.
Adding Basic report
By default , plguins generates CSV files. I am not changing.
Final POM.XML
Project will look like this
Run your Scripts
Just run Maven verify stage : mvn clean verify
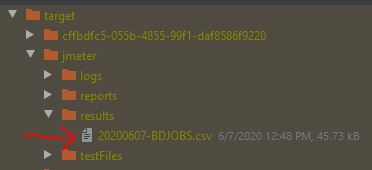
And you can see the results in /target/jmeter/results
How maven runs the test?
As you have seen in POM configuration, we have 3 goals, define in stages. When we run mvn clean verify,
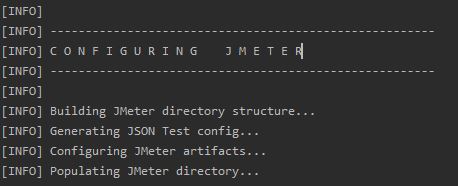
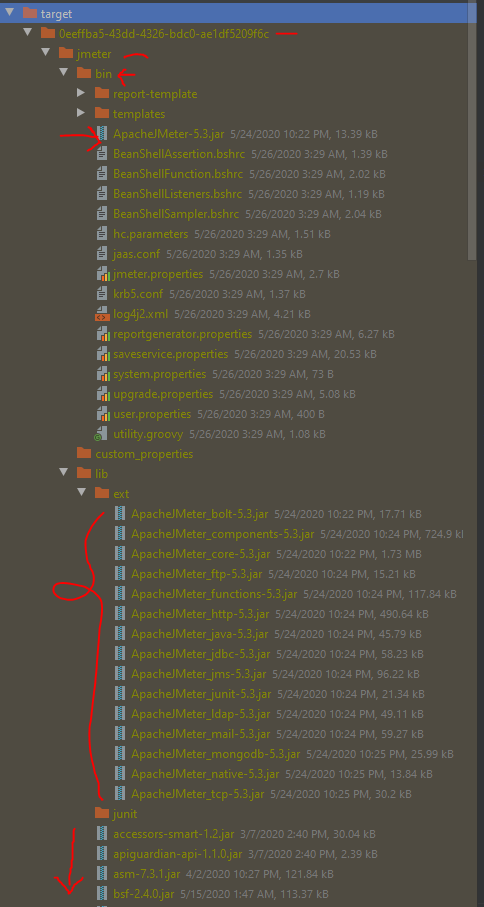
- First, Jmeter is build with default property configuration from maven repository. If you need jmeter plugins or custom JARs in jmeter, you need to specify in this step. I will provide separate blog for this.
And that makes jmeter installed in target folder.
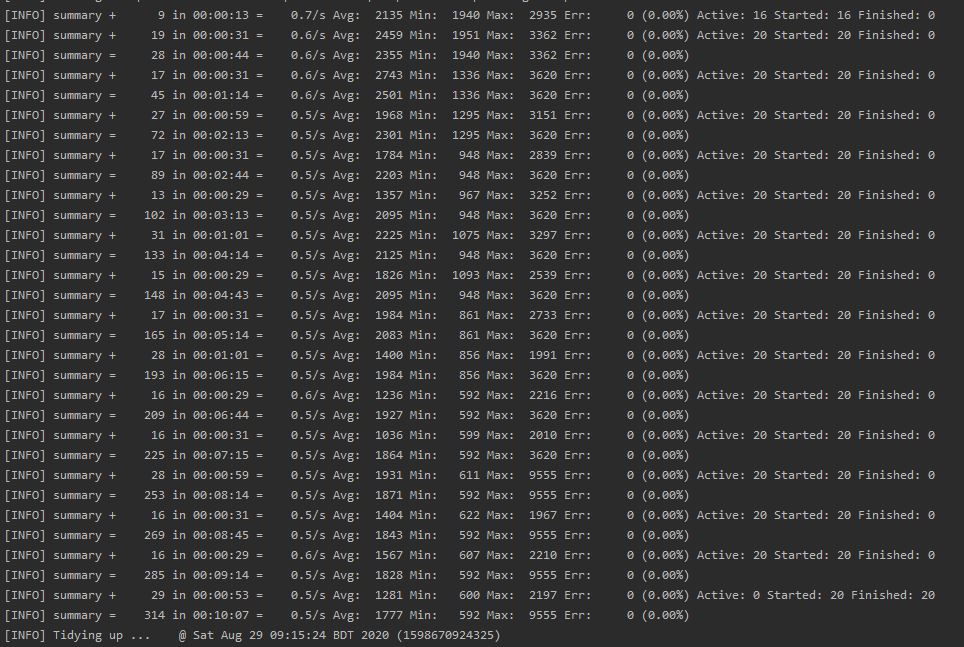
- Second, Jmeter runs the test.
now, during the test, we can see command line results like this.
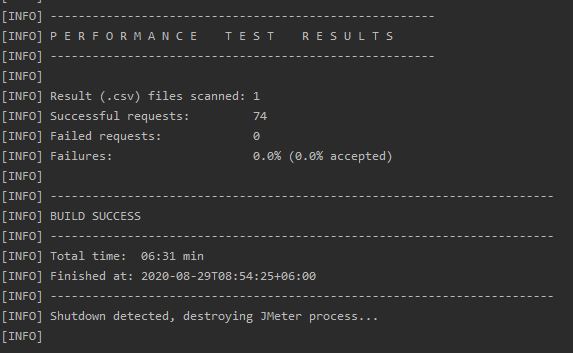
- Third, Jmeter Reporting step. First it will scan for reports
and then it will generate results.
When results are generated, you can see this in target folder . This is CSV result
There are multiple type of results we can get like jtl, html etc. I will provide separate blog on detail reporting.
Project Source
Thanks :)
